Projects:RegistrationLibrary:RegLib C20
From NAMIC Wiki
Revision as of 18:19, 5 September 2011 by Meier (talk | contribs) (Created page with 'Back to ARRA main page <br> Back to Registration main page <br> [[Projects:RegistrationDocumentation:UseCaseInv…')
Home < Projects:RegistrationLibrary:RegLib C20
v3.6.3
Back to ARRA main page
Back to Registration main page
Back to Registration Use-case Inventory
Contents
v3.6.3  Slicer Registration Library Case #20: Intra-subject whole-body PET-CT
Input
|
|
|
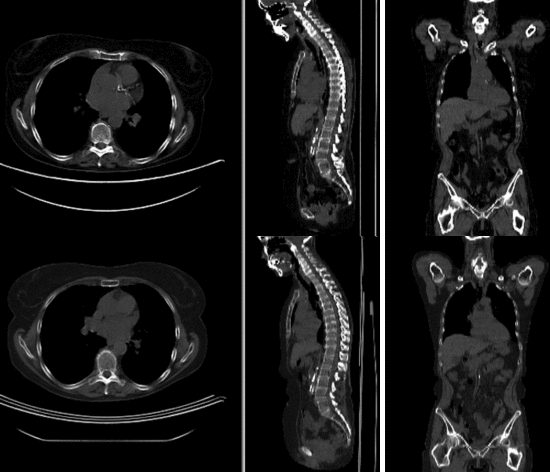
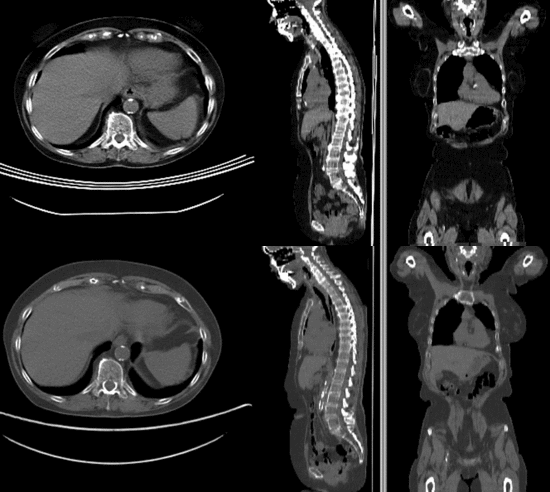
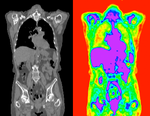
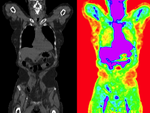
| fixed image/target | moving image |
Modules
- Slicer 3.6.3 recommended modules: BrainsFit,
Objective / Background
Change assessment.
Keywords
PET-CT, whole-body, change assessment
Input Data
- reference/fixed : baseline CT: 0.98 x 0.98 x 5 mm , 512 x 512 x 149; PET: 4.1 x 4.1 x 5 mm , 168 x 168 x 149
- moving: CT: 0.98 x 0.98 x 5 mm , 512 x 512 x 149; PET: 4.1 x 4.1 x 5 mm , 168 x 168 x 149
Registration Results
Download
- Data
Procedure
- Phase I: Preprocessing: center
- the two volume sets have different origins specified in their header files. We reset both to obtain a rough alignment:
- Go to Volumes module and select the Info tab
- From Active Volume menu, select s1_CT; then click the Center Volume button
- repeat for s1_PET, s2_CT etc.
- Phase II: Preprocessing: crop
- Crop to region of interest: to avoid bias from the strong differences in head positiion, we reduce the effective FOV do the abdominal region of interest
- Go to the “Extract Subvolume ROI” module.
- click in respective slice view (axial, sagittal, coronal) to se the boundaries. When done select
- We clip both s1_CT and s2_CT between the 5th lumbar and the 5th thoracic vertebrae. For a separate tutorial on how to use the Subvolume module, see the slicer training compendium
- To skip this step, load the ready-made cropped volumes from the example dataset: s1_CT_crop , s2_CT_crop.
- Phase III: Affine Registration (Expert Automated Module)
- Open Expert Automated Registration Module
- Fixed Image: s1_CT
- Moving Image: s2_CT
- Save Transform: create new, rename to "Xf1_s2-s1_Affine"
- if running on uncropped/uncentered: check Initialization: Centers of Mass
- Registration: Pipeline Affine Metric: MattesMI
- Expected offset magnitude: 50
- Expected rotation,scale,skew magnitude: leave at default
- “Advanced Affine Registration Parameters” Tab: Affine Max Iterations: 10, Affine sampling ratio: 0.02
- Click: Apply
- Go to Data module and drag the moving volume inside the newly created transform to see the result
- Phase IV: Non-rigid Registration (Fast Nonrigid BSpline Module)
- Open Fast Nonrigid BSpline module
- Fixed Image: s1_CT_crop
- Moving Image: s2_CT_crop
- Initial Transform: Xform_Aff0_Init
- Output transform: create new, rename to “Xform_BSpl2”
- Output Volume: create new, rename to “s2_CT_BSpl2”
- Iterations: 120; Grid Size: 9; Histogram Bins: 50
- Spatial Samples: 150000
- Phase III-IV alternative: BRAINSFit: Affine + BSpline
- Go to BRAINSFit registration module
- select parameter presets from pulldown menu: 'Xf2_S2-s1_cropped or set the parameters below:
- Fixed Image: s1_CT_crop
- Moving Image: s2_CT_crop
- check: include Rigid, include ScaleVersor3D, include Affine, include BSpline
- Output: Slicer BSpline Transform: create new, rename to "Xf2_s2c-s1c_BFit"
- Output Image Volume: create new, rename to "S2_CT_crop_Xf2"
- Output Image Pixel Type: "short"
- Registration Parameters: Number of grid subdivisions: 3,3,3; leave rest a default settings
- Click: Apply
for more details see the tutorial under Downloads
Discussion: Registration Challenges
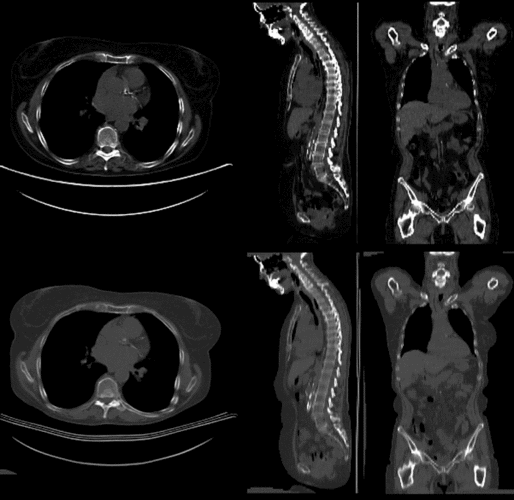
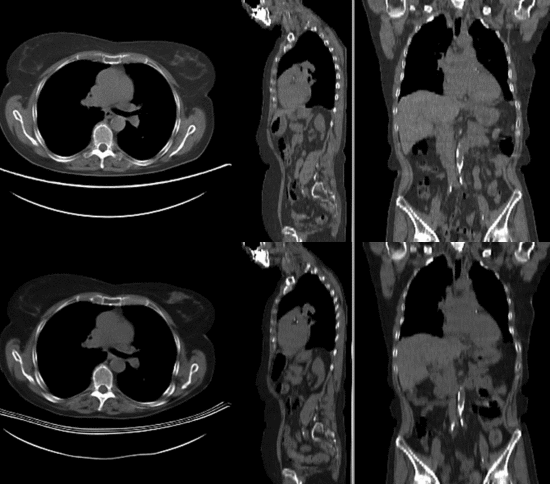
- accuracy is the critical criterion here. We need the registration error (residual misalignment) to be smaller than the change we want to measure/detect. Agreement on what constitutes good alignment can therefore vary greatly.
- the two series have different voxel sizes
- because of the large FOV we have strong non-rigid deformations from differences in patient/limb positions etc.
- images are large volumes (>100 MB total)
- image content reaches border of image on two sides
- 2 images pairs have to be aligned, i.e. the calculated transform must be applied to the second (PET) image.
Discussion: Key Strategies
- to calculate the transform, we use the images with the most accurate geometric representation and the smallest expected change, i.e. we align the follow-up CT to the baseline CT and then apply the transforms to the PET image.
- because of the non-rigid differences due to posture and breathing we will need to apply a 2-step registration with an affine alignment followed by a BSpline.
- the strong differences in head position is likely to distract the registration and lead to suboptimal results. Hence we produce a cropped version of the two CT images to calculate the BSpline transform.
- the two images are far apart initially, we will need some form of initialization. We will try an automated alignment first. If this fails, we do a 2-step process with manual initial alignment, followed by automated affine.
- because accuracy is more important than speed here, we increase the iterations and sampling rates. Note however the large image size, which makes comparable sampling % still large compared to other datasets.
- the two images have identical contrast, hence we could consider "sharper" cost functions, such as NormCorr or MeanSqrd. However, since these are not (yet) available for the BSpline registration.
